1. Introduction & Planning
Why Choose a Liner Pool?
People who want pool ownership without worrying about construction costs choose liner pools because they are affordable and accessible. They are durable and easy to maintain:
The introduction of liner pools enables more people to purchase their own pool.
Do I Need Professional Assistance for Installation?
The installation process for All Swim’s DIY kits is straightforward but customers who need professional assistance for bricklaying tasks have this option. The guide makes it clear that:
An All Swim liner pool kit represents work that can be done by any ordinary D-l-Y person.
Planning Permission:
The process of obtaining permission for private pool installations is generally not necessary but homeowners should contact their local authorities to verify specific regulations especially when it comes to pool enclosures.
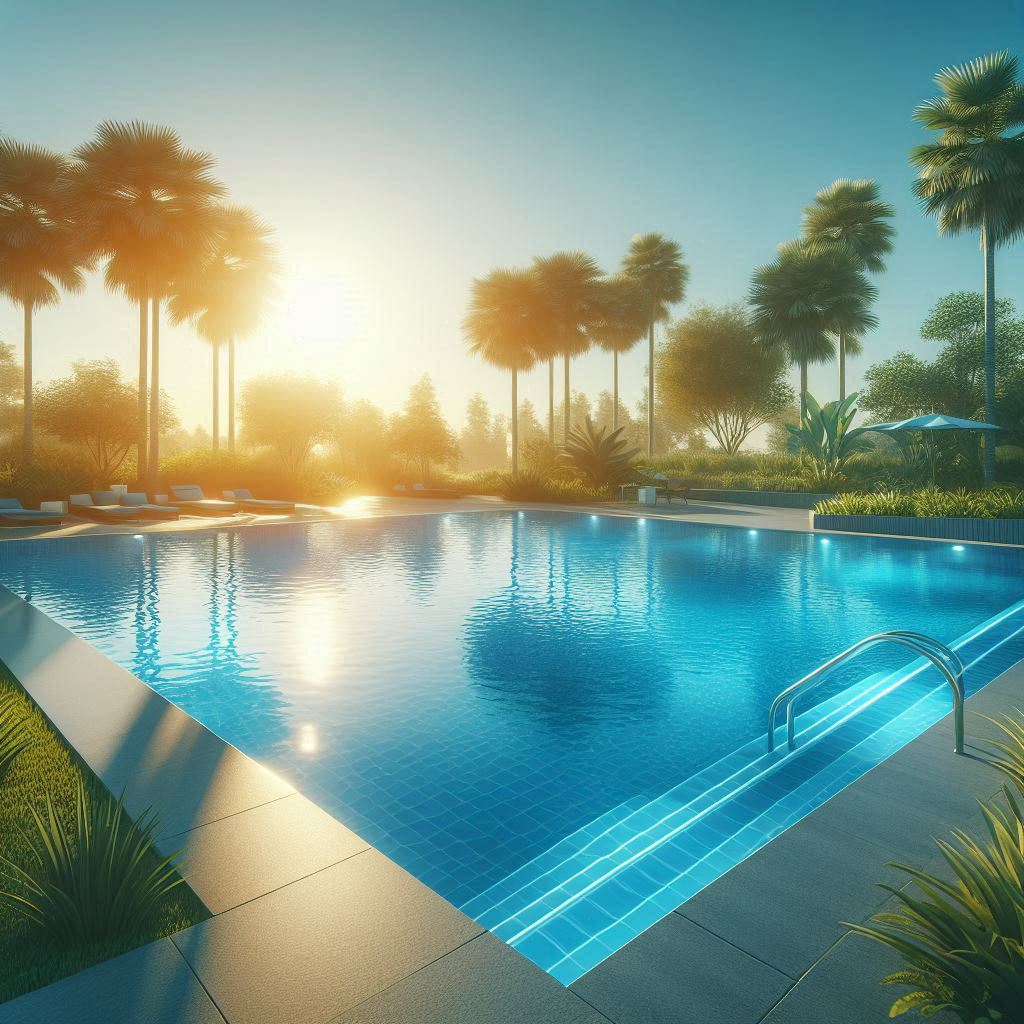
Pool Size and Location:
The most popular size for pools is 30′ x 14′ and it is based on budget and available garden space.
The success of a pool construction depends heavily on how well you consider access for machinery and underground services and ground conditions.
The location needs to receive maximum sunlight while staying near the house for easier access.
2. Preparation
Setting Out and Excavation:
The correct marking of the pool area requires precise measurements to draw a rectangle with symmetrical diagonals.
The excavation measurements should include foundation dimensions together with wall dimensions and backfill dimensions.
The datum point functions as the reference point which helps establish correct digging depths.
Material Requirements:
The guide includes tables which list all required materials for concrete blocks and reinforcing bar along with sand cement and backfill quantities that vary by pool size.
3. Construction
Wall Foundations and Main Drain:
The foundation should reach 6″ depth and 15″ width but unstable conditions require additional reinforcement.
The main drain pipe needs installation before completing the foundation work.
Pool Walls:
Pool walls receive construction through solid concrete blocks that receive smooth rendering and finish with linerlock extrusion.
Step-by-step directions show homeowners how to integrate skimmers and lights and step units into their pool construction.
Pipework and Plumbing:
The ABS plastic pipes together with their fittings create leakproof joints through solvent-jointing.
Different pool sizes require various piping layouts which are shown in diagrams.
The pressure testing process helps establish the reliability of the pipe joints.
Pool Floor:
The 2″ sand/cement screed creates a perfectly flat floor surface and contains instructions for creating the appropriate hopper shape.
4. Finishing
Liner Installation:
Each step of liner installation results in a tight and wrinkle-free fit through methods that use sandbags or vacuum cleaners.
Instructions cover cutting in pool fittings like the main drain, light, and skimmer.
Coping Stones and Paving:
Cement screed that is levelled serves as the base layer for coping stones.
The pool area requires non-slip paving which should have a gentle slope to keep debris out of the pool.
5. Pool Care
Filtration and Water Chemistry:
Continuous filtration is crucial for water quality.
The multiport valve controls filter functions like backwashing and rinsing.
The provided water testing kit helps users achieve the best chlorine levels and maintain correct pH and alkalinity values.
Winterization:
The winterization process for the pool requires draining equipment and applying winterization chemicals followed by covering the pool.
Safety:
The importance of supervision and pool safety measures such as safety covers and fencing is emphasized in the document.
Some products you might be interested in:
[products_pinterest_style products=”4″ cat=”WellRecommended” columns=”4″]